


Complete step-by-step guide to printing custom stickers
Creating custom stickers is a fantastic way to express creativity, enhance brand visibility, or personalise your belongings.
Whether you're a business looking to boost your marketing efforts with business stickers or an individual aiming to create personalised stickers for fun, understanding the process from conception to reception is essential. But how do you create a custom sticker, and how can you make the printing experience smooth and successful?

What are you using your stickers for?
The first step in creating custom stickers is to determine their purpose. Are they for promotional activities, personal use, packaging, or perhaps as custom labels for products?
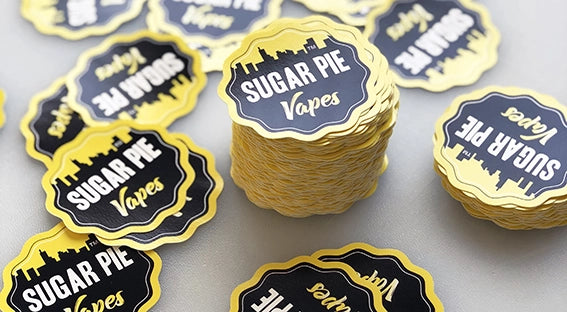
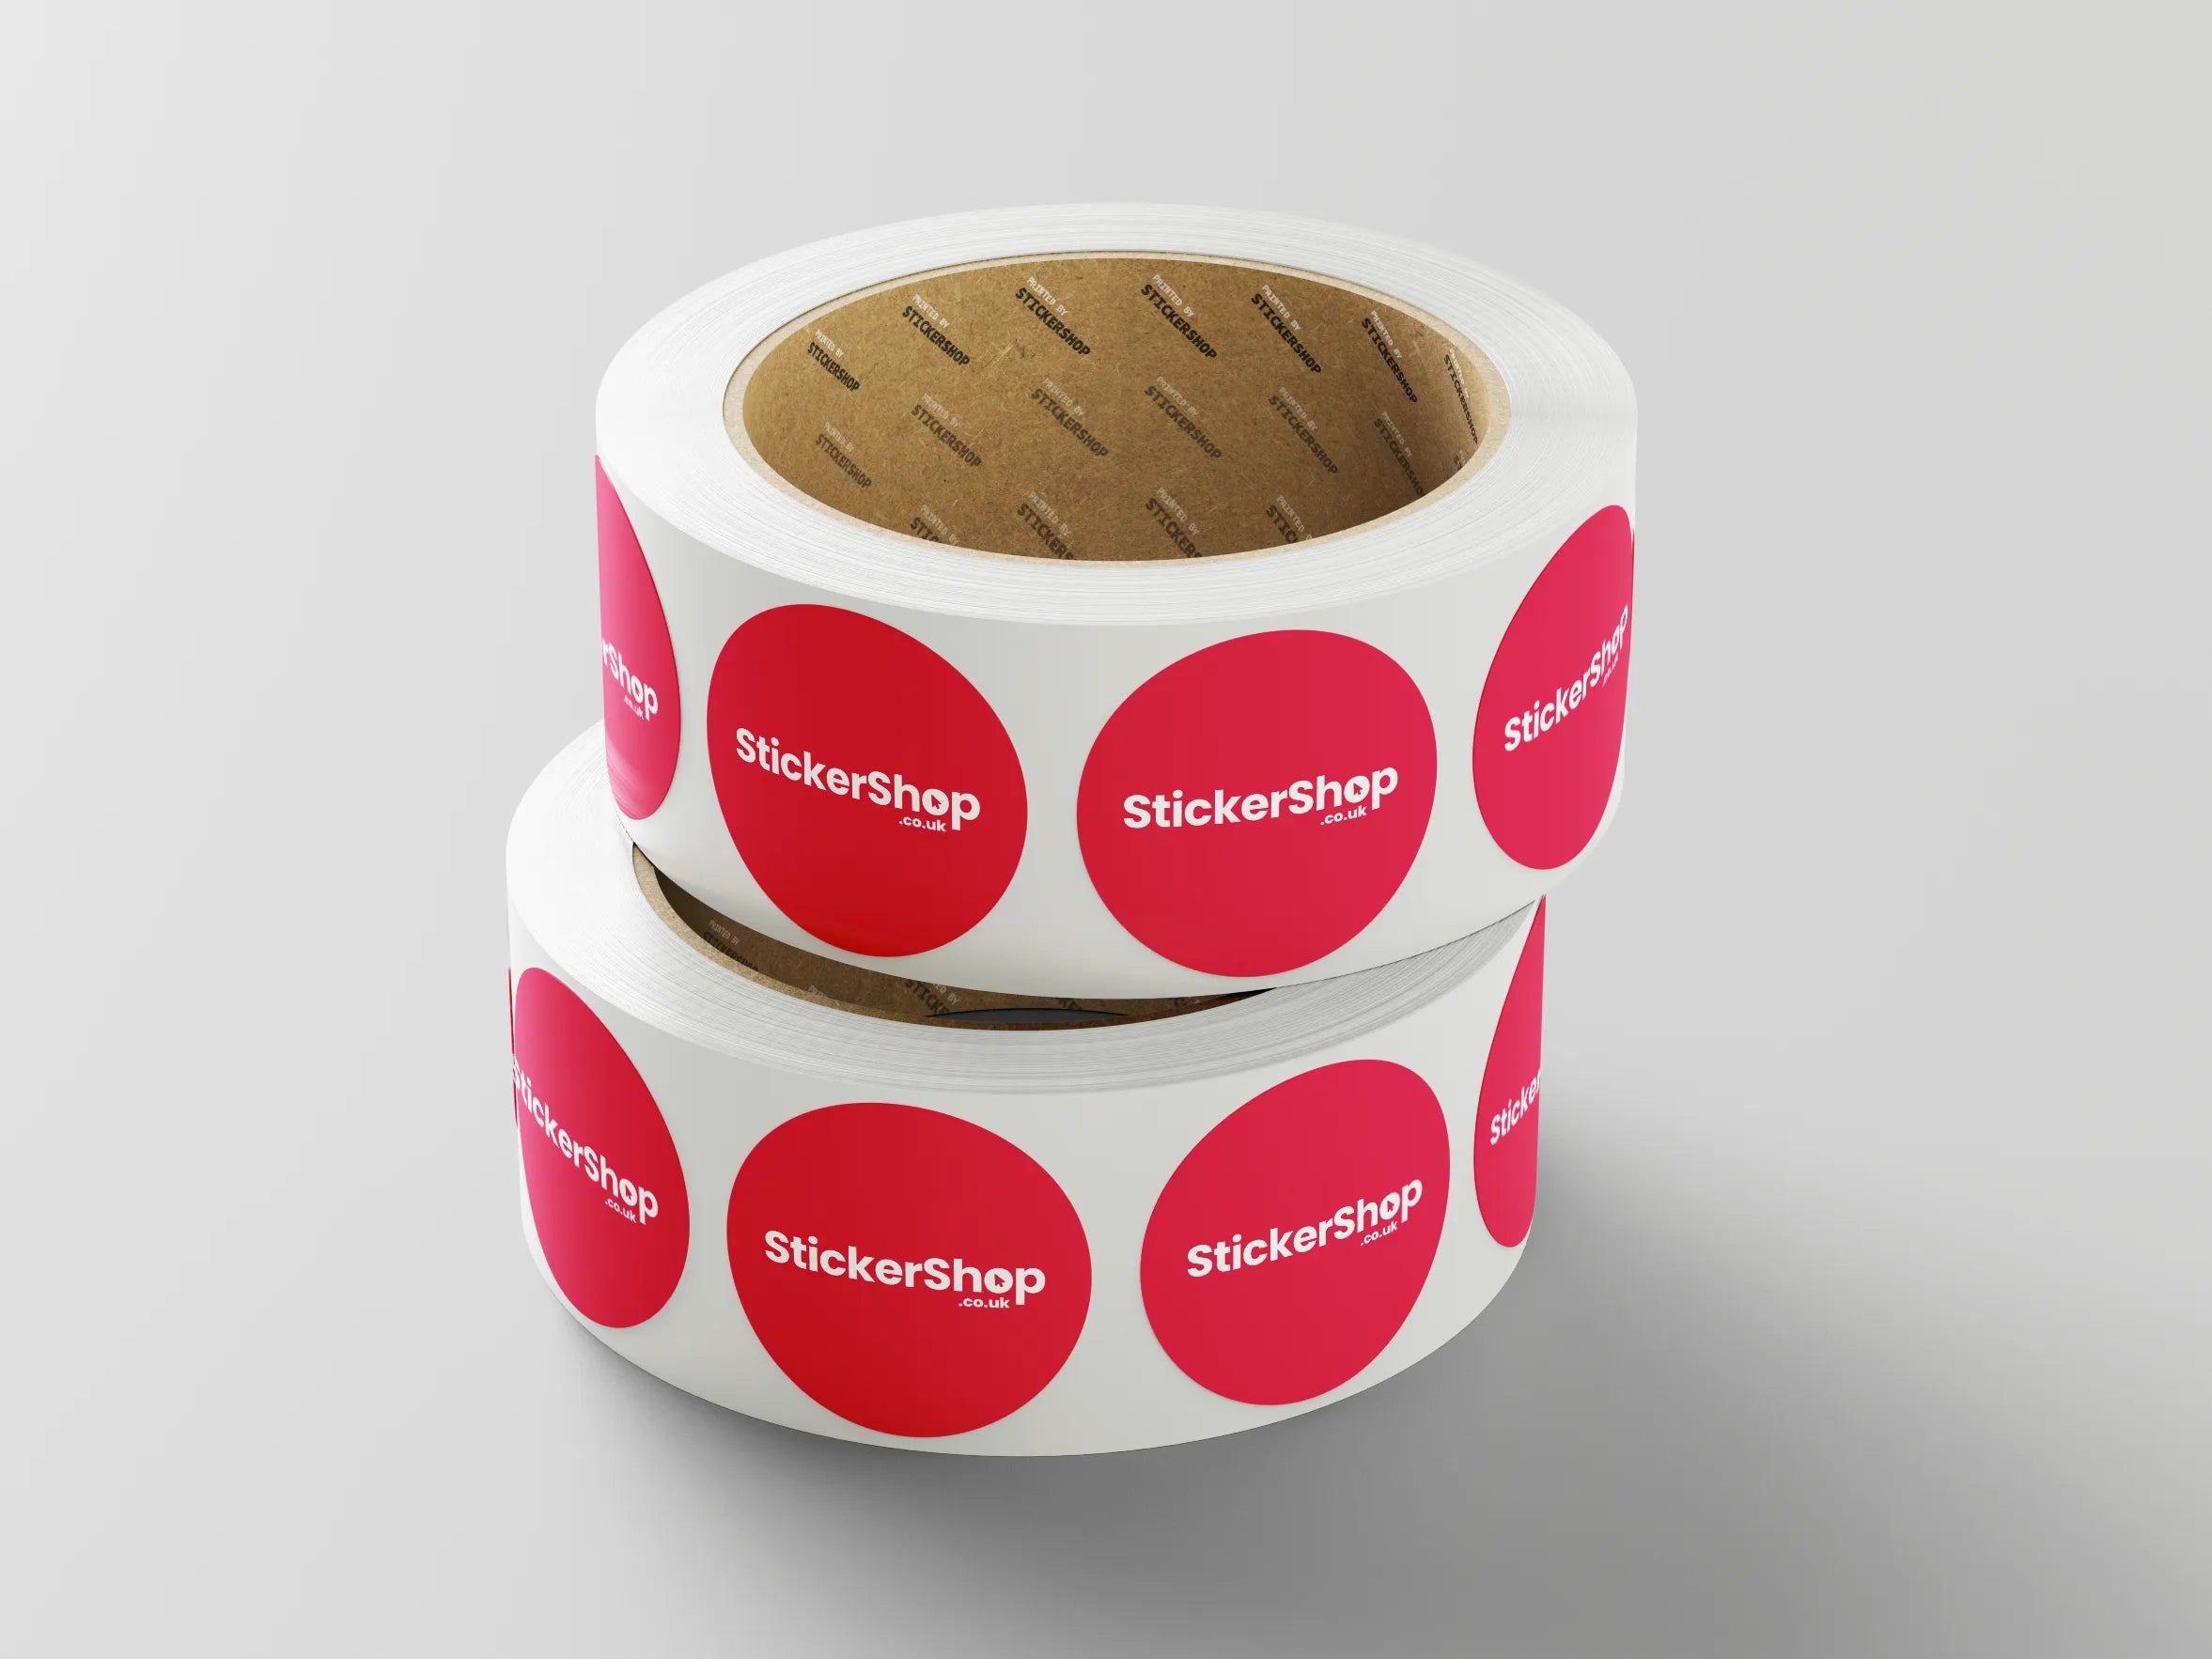
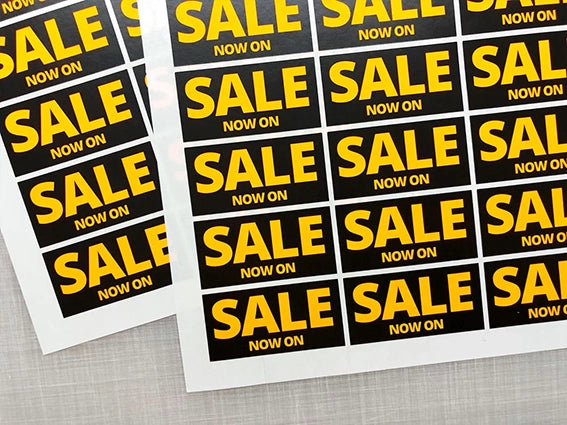
Identifying the purpose not only helps in deciding the sticker design but also influences the choice of material and finish, as well as the decision between sheet stickers and roll stickers. For businesses, stickers can serve as a cost-effective marketing tool, turning every recipient into a potential billboard. Personalised stickers, on the other hand, can add a unique touch to gifts, gadgets, and more.
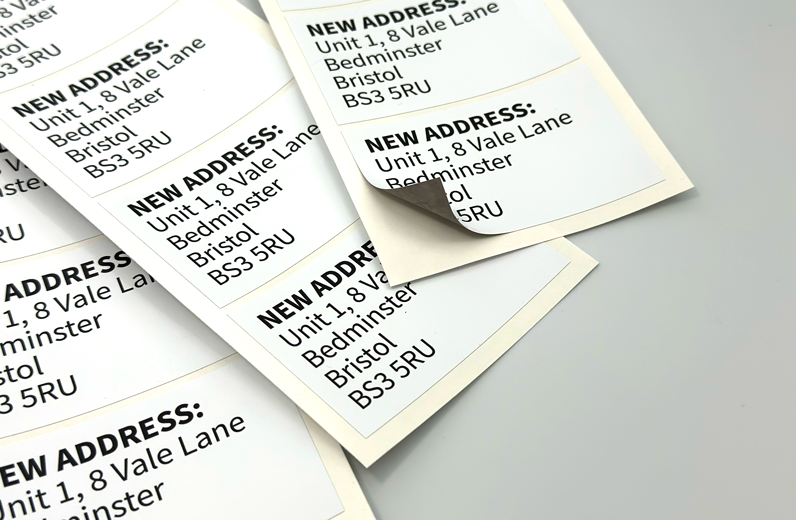
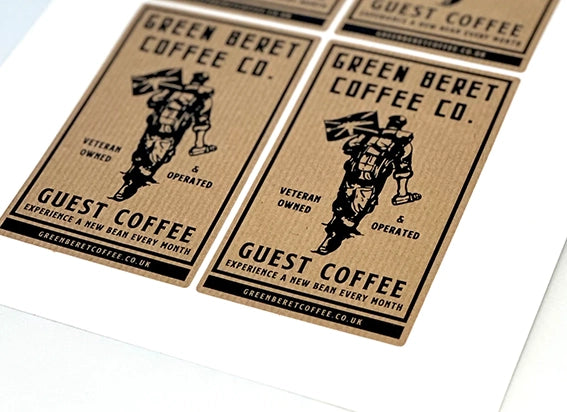
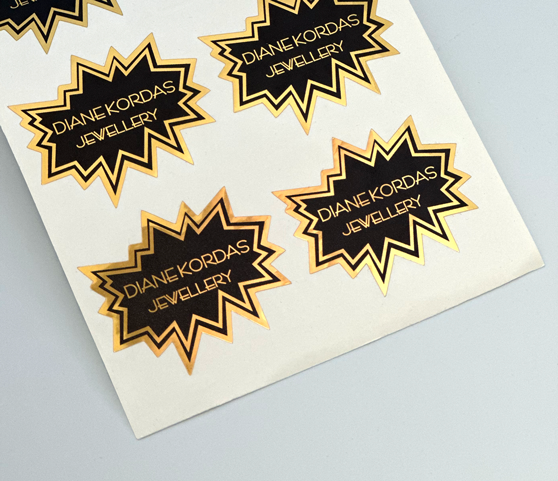
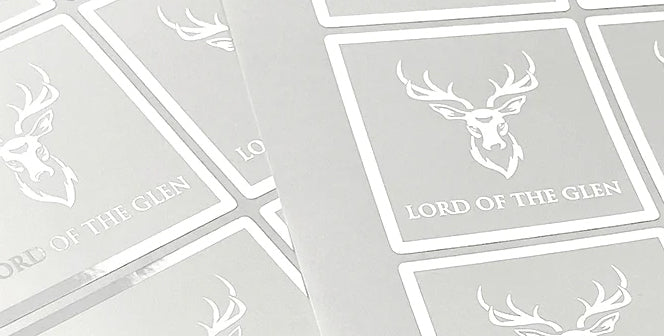
Choose a suitable material suitable for your purpose
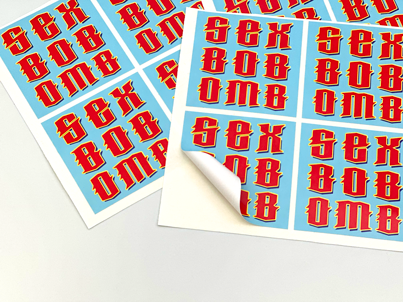
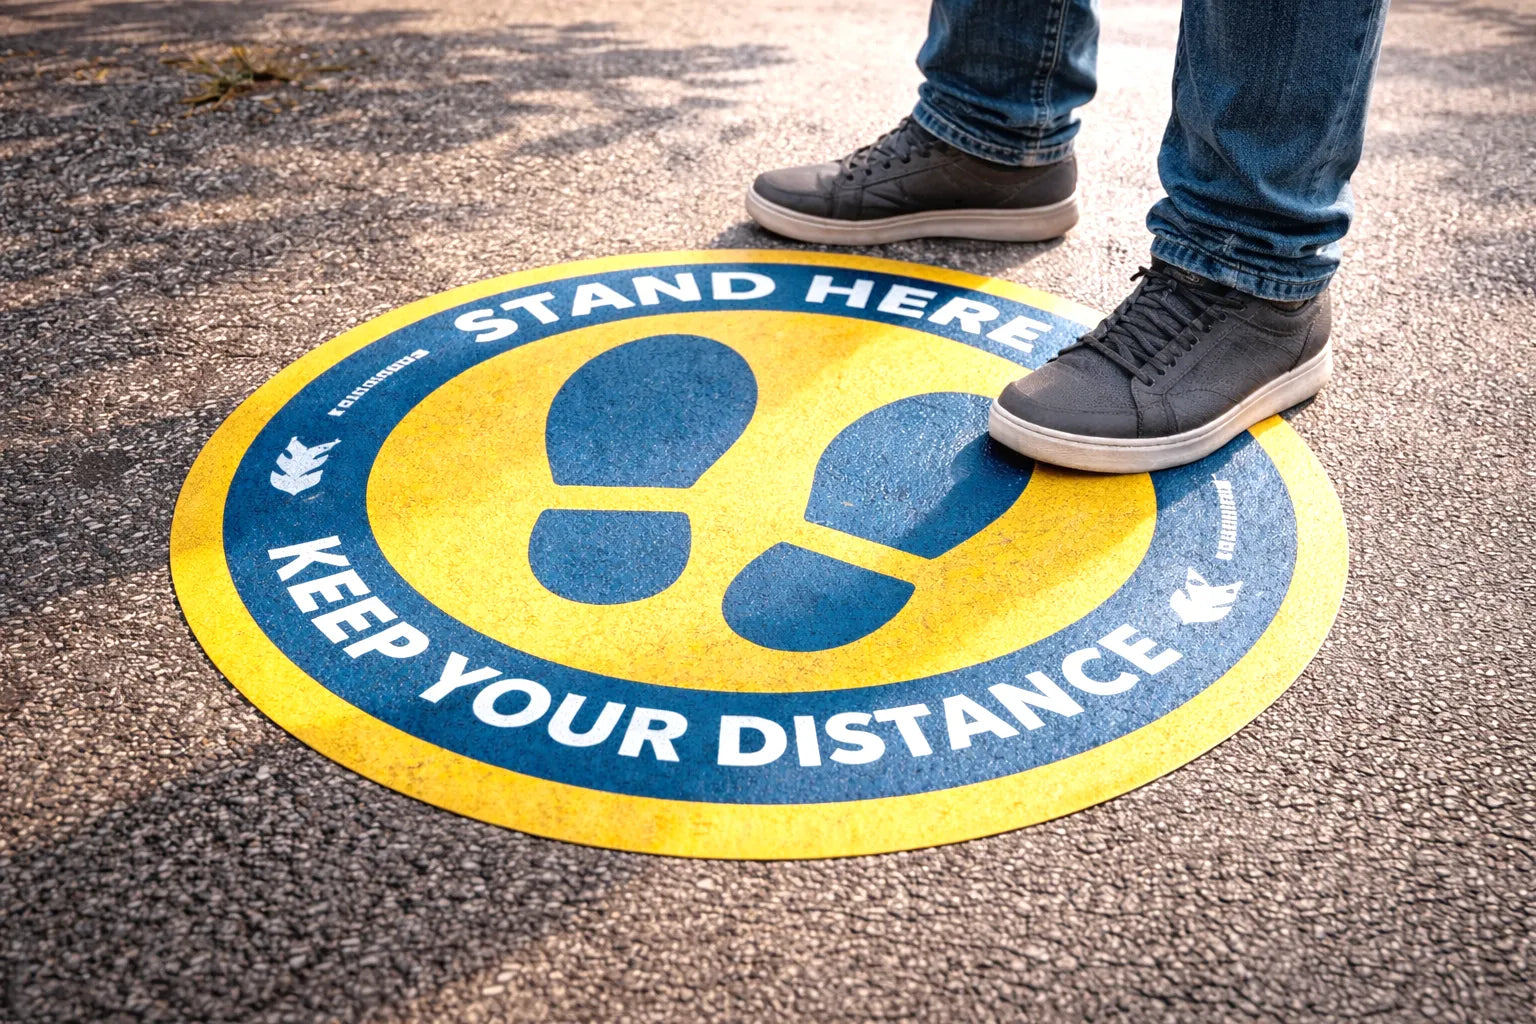
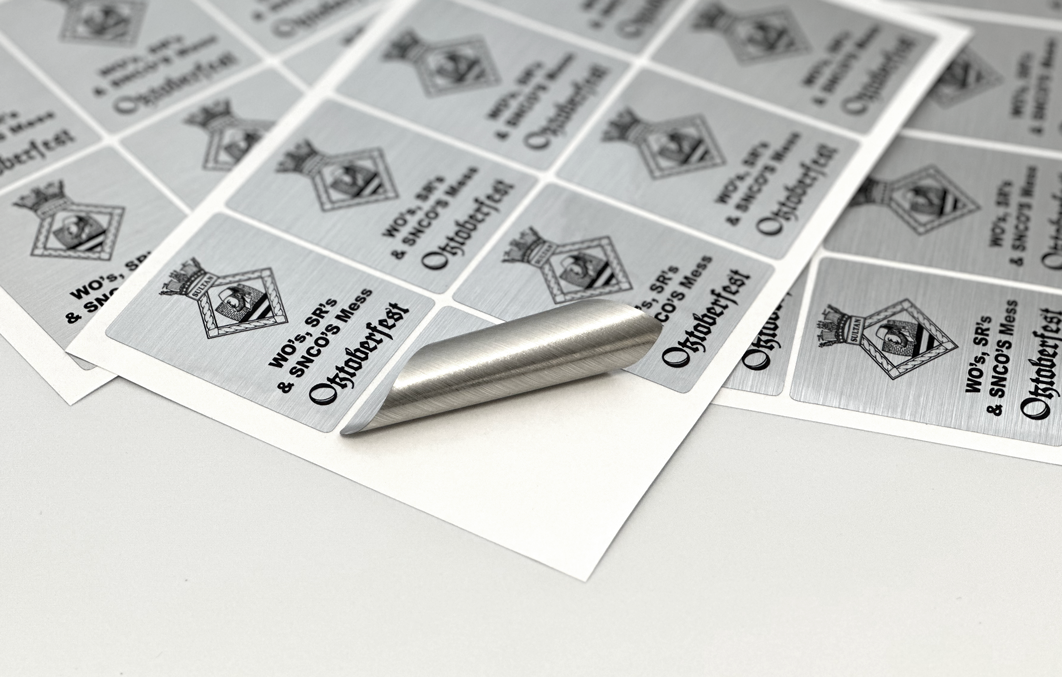
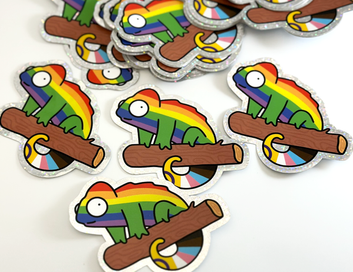
Once the purpose is clear, selecting the right material is the next step. For most applications, custom vinyl stickers are highly popular for lots of applications such as outdoor gear, automatic decoration, water bottles, laptops, and snowboard stickers due to their durability and weather resistance, making them perfect for outdoor use.
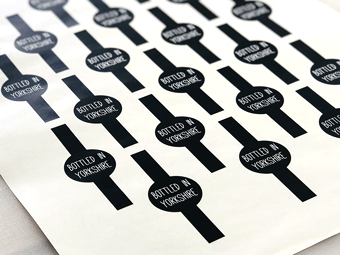
However, for product labels or eco-friendly brands, biodegradable or paper-based materials might be more appropriate. Each material has its own set of advantages and suitability depending on the sticker’s intended use and exposure.
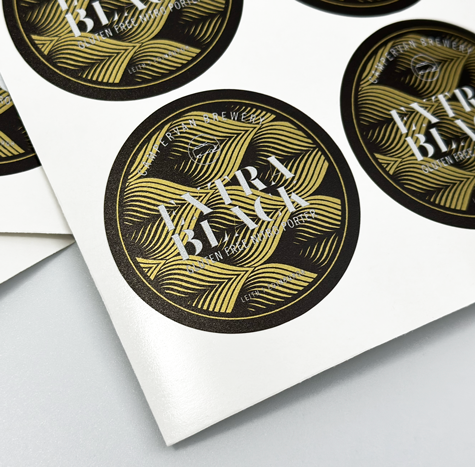
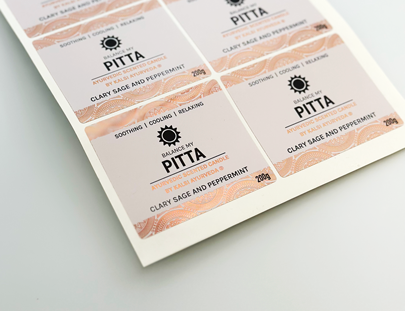
Think about the sticker finish
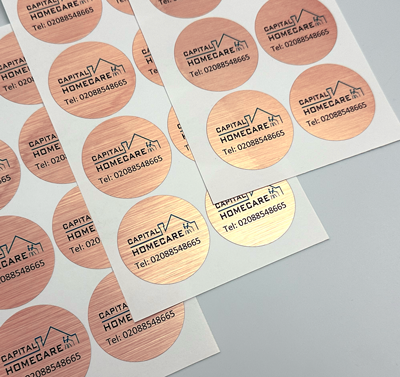
The finish of your stickers can significantly affect their appearance and longevity. Generally, you have two options: matte or glossy. Matte finishes offer a subtle, professional look and are less prone to showing fingerprints, while glossy finishes bring out the colours more vividly and are more eye-catching.
The choice between matte and glossy should align with the sticker's design and purpose. For instance, business stickers might benefit from a glossy finish to stand out, whereas labels for high-end products may prefer the elegance of a matte finish.
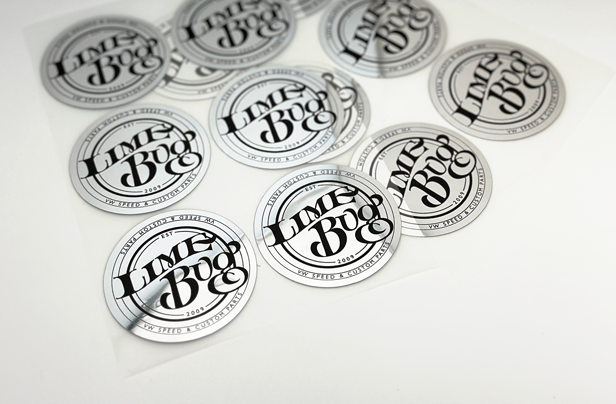
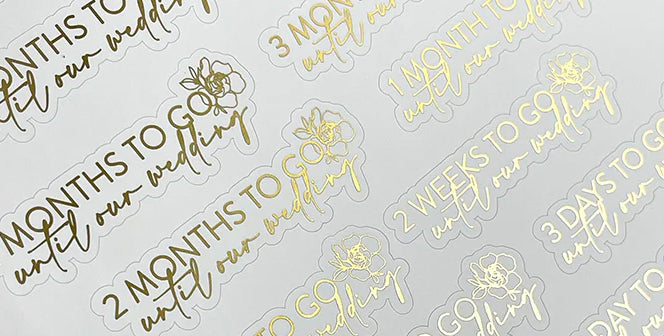
Get creative with your sticker design
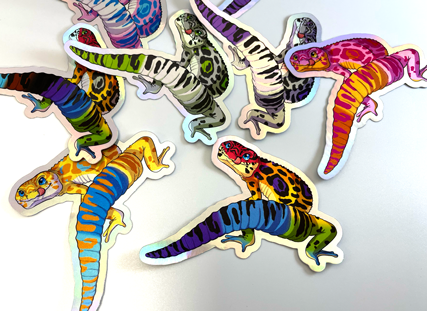
Designing your sticker is where creativity comes into play. This step involves deciding on the graphics, text, and overall aesthetic of your sticker. It's essential to keep your target audience in mind and ensure the design communicates the intended message effectively.
Utilise design software or collaborate with a professional designer to bring your vision to life. Remember to keep the design simple yet captivating, as custom stickers are often small, and you want every element to be visible and understandable at a glance.
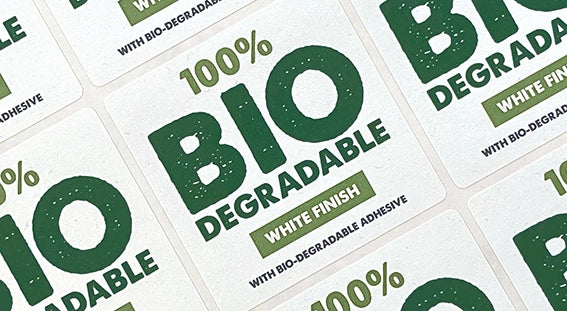
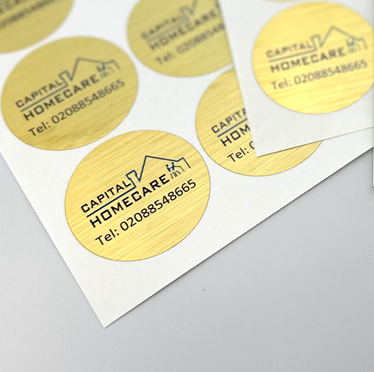
Think about the colour
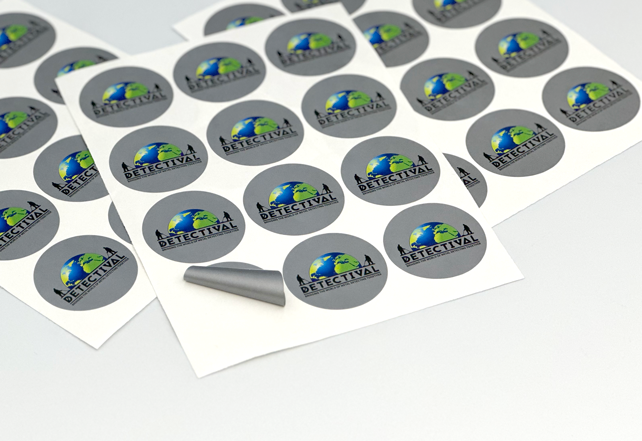
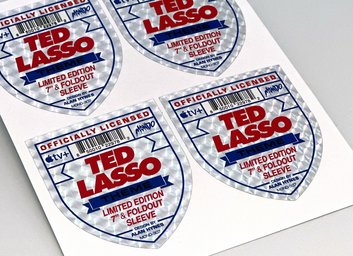
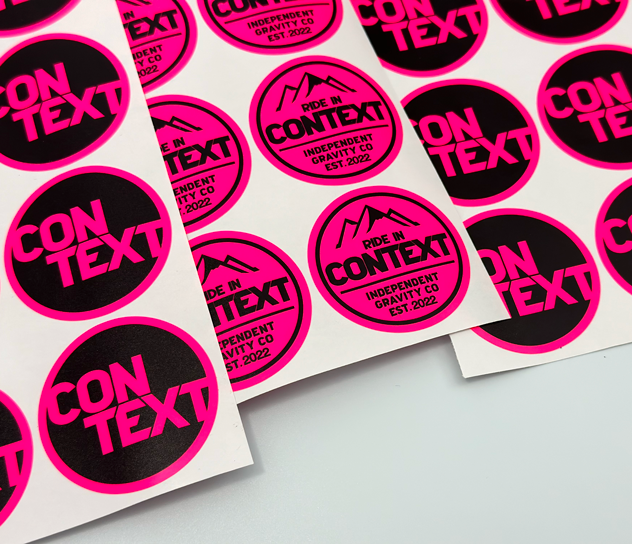
Colour plays a pivotal role in sticker design. The right colour scheme can make your sticker pop and get noticed. When selecting colours, consider the psychology of colour and how different colours can influence perception and behaviour.
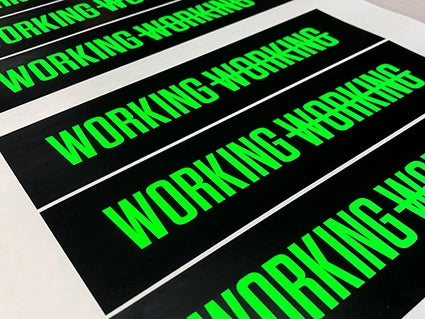
For example, green often represents eco-friendliness and sustainability, making it a suitable choice for eco-conscious brands. In addition to this, ensure that the colours you choose align with your brand identity (if applicable) to maintain consistency across all marketing materials.
What format, resolution, and size do you print your stickers in?
The technical aspects of sticker printing are crucial for ensuring the final product looks as intended. Generally, stickers should be designed in a CMYK colour profile for accurate colour printing.
The resolution should be at least 300 DPI (dots per inch) to ensure that the printed stickers are clear and crisp, without any pixelation or blurring. As for the size, it should align with the sticker's purpose; for example, smaller stickers might be ideal for packaging, while larger ones can be great for bumper stickers.
Always provide some bleed in the design file, usually an extra 1/8 inch beyond the cut line, to ensure no important design elements are trimmed during the cutting process.
How do you order your stickers from StickerShop?
Ordering your custom stickers through an online platform like StickerShop simplifies the process. Here’s a brief overview of how to bring your stickers to life.
Step 1: Choose your finish
Gloss or matte finish: Begin by selecting the 'gloss' or ‘matte’ finish for your stickers. A gloss finish will give your stickers a shiny, vibrant look that stands out. Whereas a matte finish offers a dull, non-shiny result.
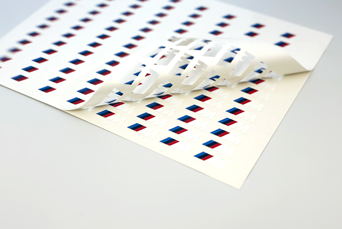
Step 2: Select adhesive type
Permanent or temporary adhesive: Choose the 'permanent' adhesive option if you require stickers that stick firmly and are difficult to remove. This option is perfect for long-term applications where durability is key. In contrast, choose temporary adhesives for your stickers if you need to remove them easily.
Step 3: Decide on your artwork setup
Single or multiple artwork design: If you have just one design for your stickers, select the '1 Design' option. However, if your order will include multiple designs, prepare to upload all relevant files simultaneously.
Step 4: Specify dimensions
Enter diameter: Measure the diameter of your desired sticker in millimetres (mm) and enter this value. This step is essential for ensuring your stickers are printed to the exact size you need.
Step 5: Determine quantity
Enter quantity: Decide how many stickers you need and enter this quantity for an instant price quote. The price will include VAT and free UK delivery, providing a clear cost with no hidden fees.
Step 6: Upload your artwork
Prepare your files: If your order includes multiple designs, ensure all files are ready to be uploaded at once. This will streamline the process and ensure all your designs are printed without delay.
Upload files: Choose the 'upload' option and select all the files you intend to print as stickers. Supported file formats and any size limitations will be specified on the upload page.
Step 7: Review and confirm
Double-check your order: Review all the details of your order, including the finish, adhesive type, design(s), dimensions, and quantity. Make sure everything is exactly as you want it to be.
Place your order: Once you're satisfied with your selections and the total cost, proceed to checkout. You'll be prompted to enter shipping and payment information.
Why get custom stickers made?
Creating custom stickers is an engaging process that allows for a high degree of creativity and personalisation. By following this step-by-step guide, you're well on your way to producing eye-catching stickers for any purpose, whether it's to enhance your business's brand visibility or to personalise your space with unique designs.
Elevate your sticker game with StickerShop today
At StickerShop, we specialise in creating vibrant, durable custom stickers perfect for any use — be it for branding, personal projects, or promotional activities. From custom vinyl stickers to bespoke business stickers, our extensive range ensures your specific needs are met with precision and creativity.
Dive into our vast selection of personalised stickers and discover how they can transform your brand's visibility, enhance your personal items, or elevate your marketing strategy. If you're unsure where to start or need help designing your perfect sticker, our team at StickerShop is here to guide you every step of the way.
Order your custom stickers, or get in touch with us at StickerShop to get started today.
