


5 top tips for adding stickers to your skateboard
Whether it’s to showcase artwork, promote sponsors or just protect the deck, there are tons of reasons skaters cover their boards in stickers —but the main motive has to be how it makes your board your own.
Badly applied, low-quality stickers will soon peel off your board. So, if you want a final look that really stands the test of time, you’ll need to learn how to apply stickers properly. Here’s how to keep your skateboard stickers looking their best.

Where to put stickers on your skateboard
You can place your stickers on the top or bottom of your deck — it’s completely down to personal preference. Just keep your skateboard deck stickers off the trucks and wheels, and you’re in the clear!
One factor that may sway your decision is if you intend to use solid-coloured grip tape. You won’t be able to place stickers on top of the tape, and they’ll be covered underneath it. The workaround is to put the stickers down first, then cover them with transparent grip tape.
Top tips for applying cool skateboard stickers
Get the best results from your skateboards custom stickers with these top tips:
1. Choose the right adhesive
Combine the flips, the kicks and the mercy of the elements, and your skateboard is really put through it. So flimsy, peeling stickers really aren’t going to cut the mustard. You’ll need to check yours are made with an adhesive that lasts.
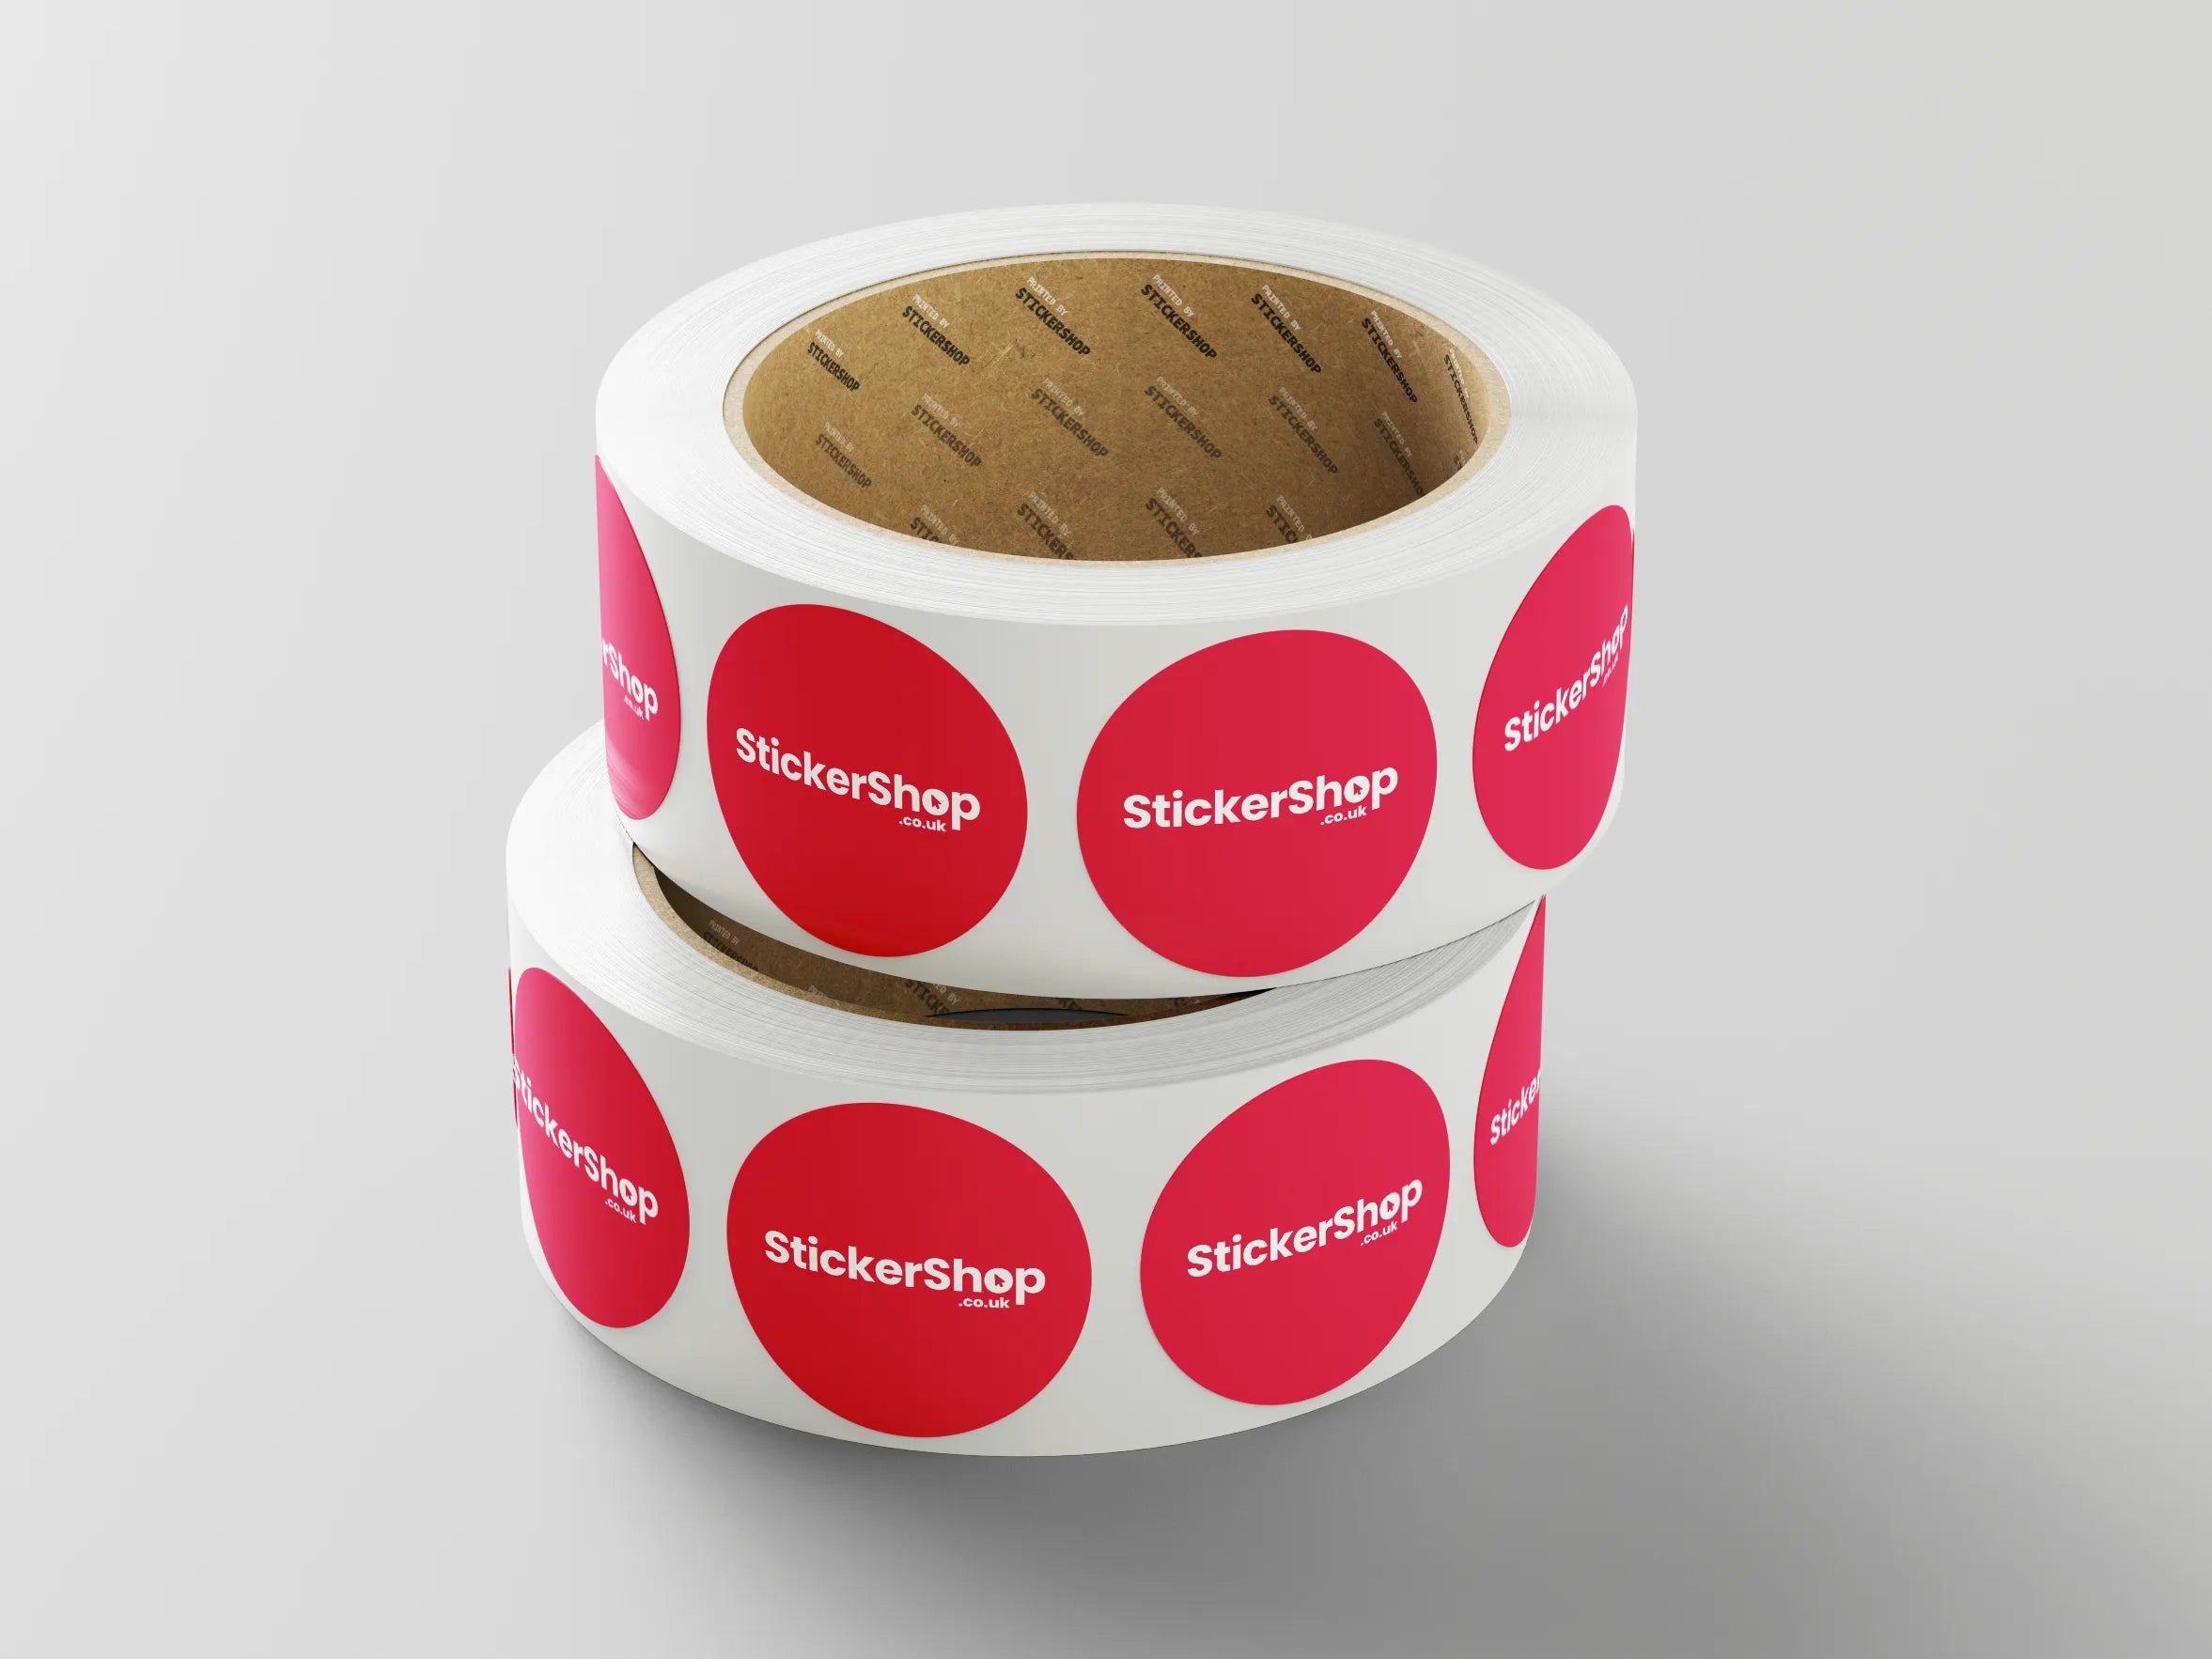
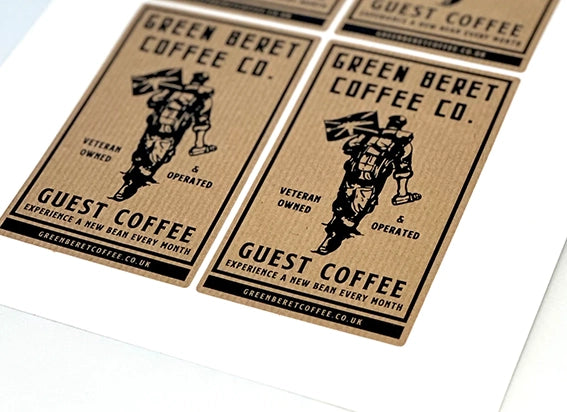
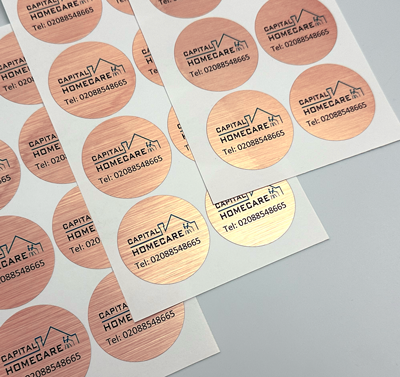
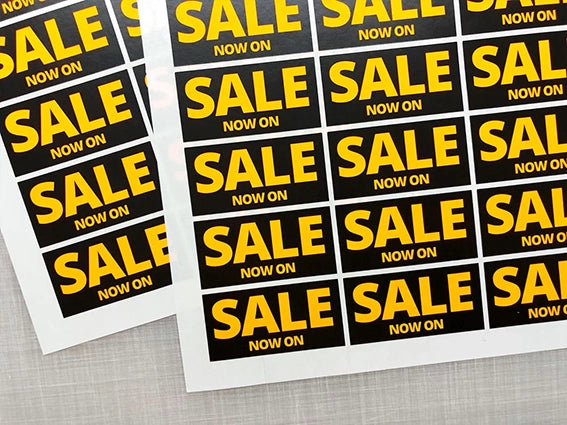
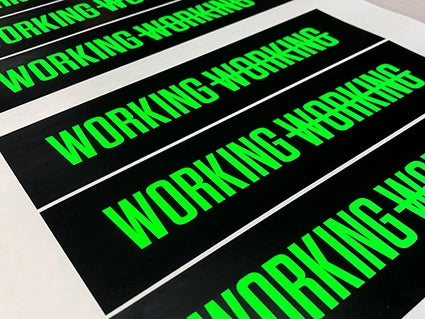
To guarantee your sticker doesn’t come off until you force it off, StickerShop offers an extra permanent, high-tack adhesive designed with these applications in mind. Trust us, it won’t budge.
2. Clean the area before applying your skateboard stickers
It’s no use applying stickers on top of dust and dirt buildup, so make sure your deck’s squeaky clean first. A wire brush, soapy solution and microfibre cloth should be all you need to get it looking good as new.
3. Plan your layout before applying your stickers
If you’re applying a few different stickers, you’ll want to consider spacing and design before you go ahead with sticking. Before you peel the non-adhesive side, plot out all the stickers you plan to use and have a play around with different designs. This will ensure you make the most of the space you’ve got.
4. Carefully cut away any parts exceeding the skateboard deck
If your sticker’s too big, or positioned too close to the edge of the board, you’ll need to cut it up so it doesn’t run off the side. If it does, it could cause a hazard — plus, it’ll end up looking tatty. Use scissors or a craft knife to carefully trim any overhang away.
5. Prevent the stickers from bubbling as you apply
Start by peeling one side off the backing paper and sticking it into position on the board. Then carefully peel off the rest and gradually stick it down. To be sure that it won’t bubble, use a credit card to smooth it down as you stick, preventing any air from getting trapped underneath.
For more advice on getting the best results from your sticker or label application, take a look at our ultimate guide to applying stickers.
Personalised skateboard stickers from StickerShop
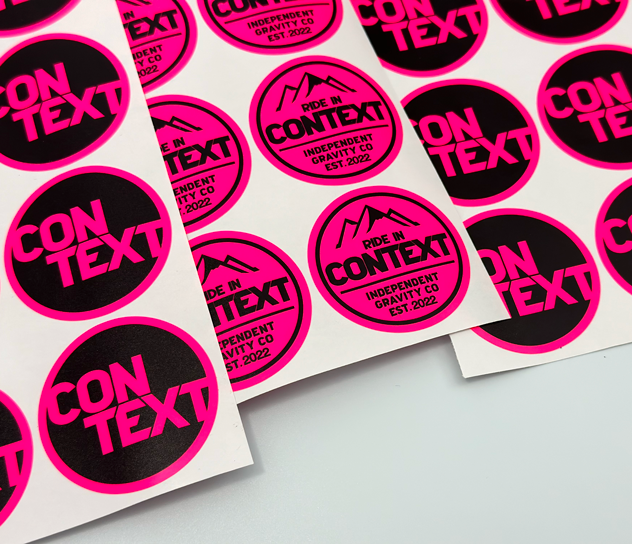
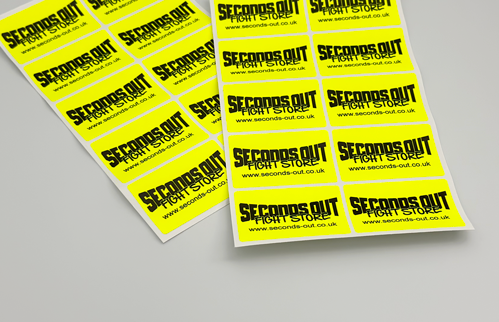
Want to create your own cool skateboard stickers? StickerShop has you covered. Either upload your artwork or collaborate with our in-house graphic design team. Then choose the shape and size, and we’ll print your design into self-adhesive stickers, guaranteeing the most robust, long-lasting quality. It’s that easy.
