


The ultimate guide to applying stickers
From adding address labels to your parcels and decorating your lunchbox to promoting your business with window stickers, there’s nothing more satisfying than getting the perfect alignment. Ripped edges, air bubbles, and wonky labels can all detract from the look you want. But don’t worry; our guide is here to help you apply your stickers perfectly every time.
Applying stickers: basic top tips
Whether you want to know how to apply wall stickers, tile stickers, or postage labels, these tips should lead to the ultimate sticker application.
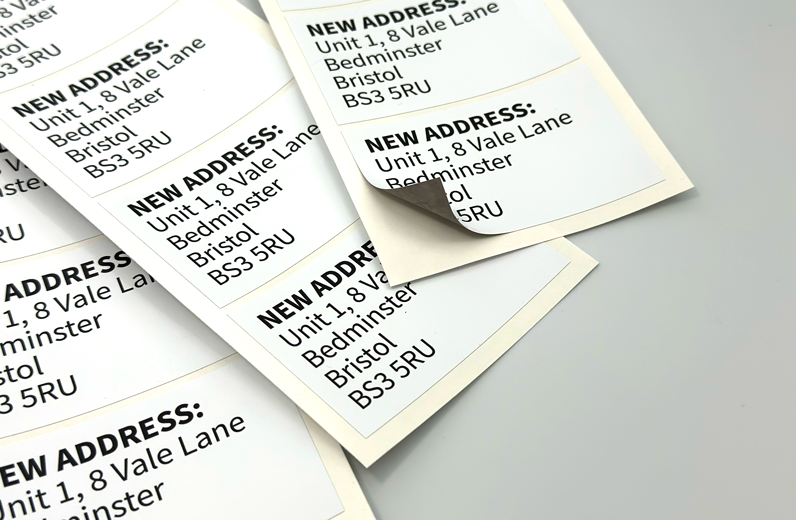
- First, make sure the surface you’re adding your label to is clean and dry. Try to remove any grease, grime, dust or bits of fluff — this will help ensure your sticker adheres to the surface properly.
- If you want to place a large sticker or label, it can be helpful to use a ruler or straight edge to help you get the right alignment.
- Once you’ve positioned your sticker, press firmly to ensure as much contact between the sticker and the surface as possible, especially around the edges.
- Next, use a scraper or credit card to smooth out any air bubbles that may form underneath. Not only can air bubbles ruin the look of your sticker, but they can also compromise how well it sticks to the surface beneath.
As well as helping you get the best out of your sticker application, these tips should help your sticker last longer, too!
What about specific sticker types?
How to apply vinyl stickers
Vinyl stickers (or decals) are ideal for personalising laptops, water bottles, and other items. While the above tips will certainly help you get the best application, vinyl stickers also require a little extra TLC to ensure a smooth, wrinkle-free finish.
- Before applying your vinyl stickers, check the room temperature. Ideally, you want it to be around 13 °C. If the surface you’re adding your decal to is too hot or cold, it might not stick as well as it could.
- If you’re feeling cautious about your sticker placement, try spritzing the surface with a very mild solution of soapy water. This will allow you to reposition the sticker until your happy. Just be aware that if you use this method, you’ll need to leave your vinyl sticker to dry for 24 hours to make sure it’s adhered properly.
- Are you adding a vinyl sticker to a curved item like a metal water bottle? If so, try using a hairdryer on it. Use the lowest heat setting to gently warm the surface of the sticker so it can mould to the shape of the surface beneath.
How to apply large stickers to glass
Stickers can be a great way to add vibrancy to a window, showcase your brand, or promote a sale. However, if you’re applying large stickers to glass, you can run the risk of a wonky display. Glass can be particularly unforgiving when it comes to sticker residue.
One way to help get the best results possible is to lightly wet the glass surface with a spray bottle before applying your sticker — just as you might with a vinyl sticker. This time, however, you can use plain water rather than soapy. The moisture will allow you to reposition the sticker or label if you’re not happy with its alignment. Once you’re happy with the placement, leave the sticker to dry for 24 hours.
You might also want to consider static window clings instead of opting for other sticker adhesive types. Static clings are perfect for windows, mirrors, and other glass or metallic surfaces. Because they use static, rather than any form of glue, you can reposition them again and again, and they’ll never lose their adhesive.
Custom stickers and labels from StickerShop
Whatever form of sticker or label you need, you can get custom sticker designs made to a professional standard with StickerShop. Explore our range by use, material, adhesive, and more! Order your free sample pack today or contact the StickerShop team for more support.
