How do I set my printer to print labels?
With such a wide choice of options for printing — professional printing services, dedicated label printers, and more — you might be wondering if it would just be easier to do it yourself.

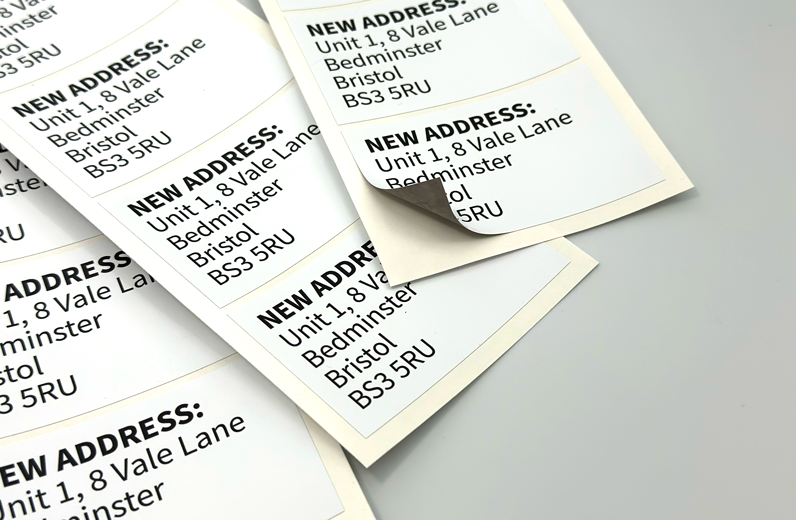
The good news is, for simple things like address labels for shipping, your home inkjet printer can get the job done. All you need is your printer, some label sheets, and your design, which makes this a cheap and cheerful option for printing your labels.
Though it’s easy to print labels with a bit of know-how, using default printer settings probably won’t get you the results you want. If you’re looking to print your labels at home and are finding yourself stumped, here’s how to get started.
How to set your printer to print labels
Select a template
Microsoft Word offers the option to input your label vendor to create a page of identical labels.
If all you want is some plain address labels, this is an efficient option, but if you’re looking to create something more personalised, you may want to consider a professional label printing service instead.
Use the media bypass tray
If your printer has one, always use the media bypass tray for labels. The media bypass tray is a secondary tray made for processing thicker sheets of paper. It bypasses at least one set of rollers, which avoids the risk of labels unpeeling.
Use narrow edge leading
Narrow edge leading is when the narrow edge of the paper goes into the printer first. Wide edge leading will result in feeding against the grain, which could cause jams.
Configure your printer’s settings
Before printing, click on “printer properties” to change your settings.
Set your page size to A4. This is to avoid the template becoming distorted.
Turn off default settings.
Select the correct media type. If there’s a “Labels” option then use that, but otherwise “Heavy Paper” or similar is best.
If you’re using the media bypass tray, set that as your media source.
Select the print quality for your design. For address labels, standard resolution is fine, but anything with more detail may need a higher resolution.
The exact method will depend on your maker, so if you’re not sure of something, don’t hesitate to check the manufacturer’s manual.
Additional tips
Here are some extra tips to help you get the best result for your labels.
Fan out the paper
Fan all your labels out. This is to make sure that none of your sheets are stuck together. However, make sure that none of your labels peel off in the process.
Run a test
Before you print anything on your labels, do a test print on a normal piece of paper. This will ensure that your design has the right size and alignment, and will reduce the risk of wasting label sheets if something isn’t right.
Depending on your printer, you may need to print labels face down or face up. If you don’t know which way around your printer works, draw a dot on the side facing up and see which side is printed on once the printer finishes.
Watch for misprints
Watch your labels as they come out of the printer. If you spot an error, you can cancel the print job to avoid wasting any labels.
Still too much of a hassle? Let StickerShop help
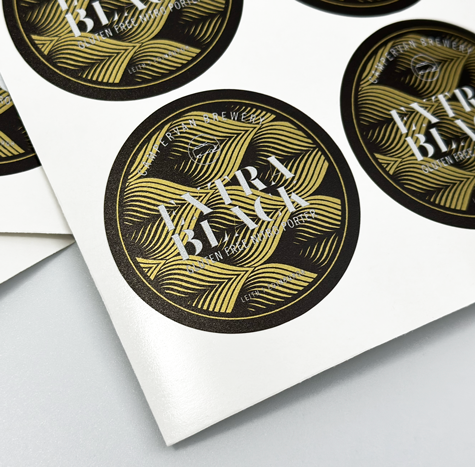
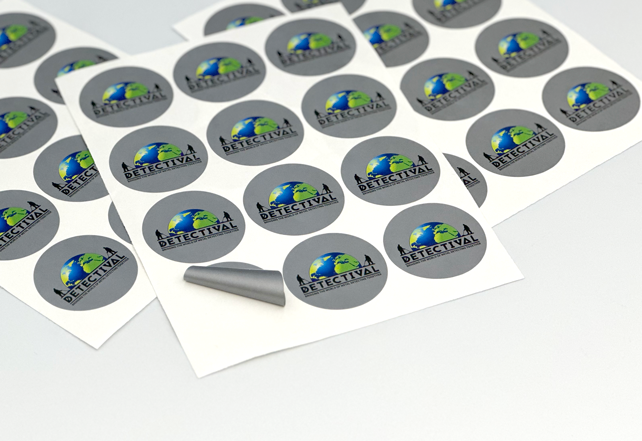
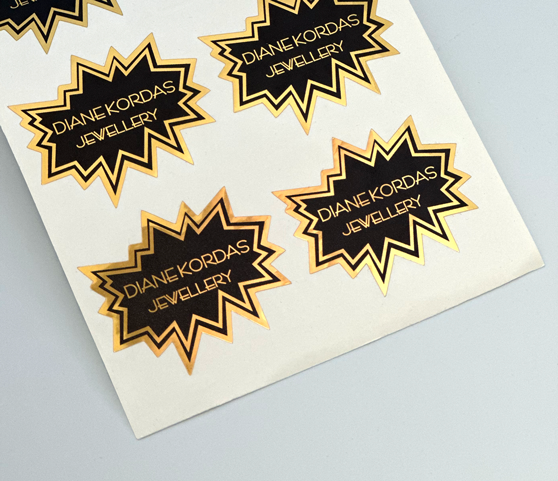
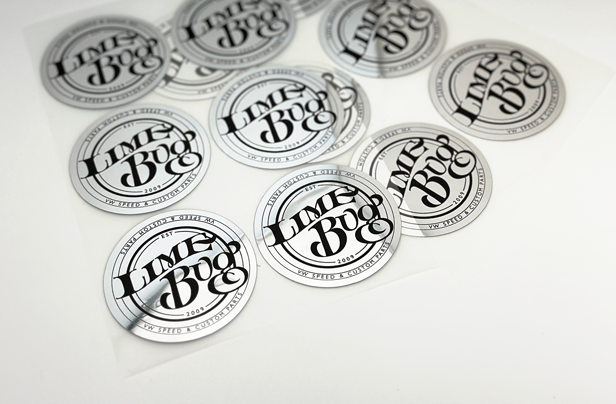
If you want to save yourself the hassle of sticker printing at home and ensure high quality, professional results, StickerShop has your back. From address labels to high-tack vinyl stickers, we have everything you need when it comes to printing.
And if you’re looking for something a little more unique, why not design your own and order your custom stickers today?


